教學
使用 Image 類別
Python Imaging Library 中最重要的類別是 Image 類別,定義在同名的模組中。您可以使用幾種方式建立此類別的實例:從檔案載入影像、處理其他影像或從頭開始建立影像。
若要從檔案載入影像,請使用 open() 函式,該函式位於 Image 模組中
>>> from PIL import Image
>>> im = Image.open("hopper.ppm")
如果成功,此函式會傳回 Image 物件。您現在可以使用實例屬性來檢查檔案內容
>>> print(im.format, im.size, im.mode)
PPM (512, 512) RGB
format 屬性會識別影像的來源。如果影像不是從檔案讀取的,則會設為 None。size 屬性是一個包含寬度和高度 (以像素為單位) 的 2 元組。mode 屬性會定義影像中帶的數量和名稱,以及像素類型和深度。常見的模式有「L」(亮度) 用於灰階影像、「RGB」用於真彩色影像,以及「CMYK」用於印刷前影像。
如果無法開啟檔案,則會引發 OSError 例外。
一旦您擁有 Image 類別的實例,您可以使用此類別定義的方法來處理和操作影像。例如,讓我們顯示剛載入的影像
>>> im.show()
注意
show() 的標準版本效率不高,因為它會將影像儲存到臨時檔案並呼叫公用程式來顯示影像。如果您沒有安裝適當的公用程式,它甚至無法運作。不過,當它確實運作時,對於偵錯和測試非常方便。
以下各節概述此函式庫中提供的不同功能。
讀取和寫入影像
Python Imaging Library 支援各種影像檔案格式。若要從磁碟讀取檔案,請使用 open() 函式,該函式位於 Image 模組中。您不必知道檔案格式即可開啟檔案。函式庫會根據檔案的內容自動判斷格式。
若要儲存檔案,請使用 save() 方法,該方法屬於 Image 類別。儲存檔案時,名稱變得重要。除非您指定格式,否則函式庫會使用檔案名稱副檔名來探索要使用的檔案儲存格式。
將檔案轉換為 JPEG
import os, sys
from PIL import Image

for infile in sys.argv[1:]:
    f, e = os.path.splitext(infile)
    outfile = f + ".jpg"
    if infile != outfile:
        try:
            with Image.open(infile) as im:
                im.save(outfile)
        except OSError:
            print("cannot convert", infile)

可以向 save() 方法提供第二個引數,明確指定檔案格式。如果您使用非標準副檔名,則必須始終以此方式指定格式
建立 JPEG 縮圖
import os, sys
from PIL import Image

size = (128, 128)

for infile in sys.argv[1:]:
    outfile = os.path.splitext(infile)[0] + ".thumbnail"
    if infile != outfile:
        try:
            with Image.open(infile) as im:
                im.thumbnail(size)
                im.save(outfile, "JPEG")
        except OSError:
            print("cannot create thumbnail for", infile)

請務必注意,除非函式庫真的需要,否則不會解碼或載入點陣資料。當您開啟檔案時,會讀取檔案標頭以判斷檔案格式,並擷取模式、大小和其他解碼檔案所需的屬性,但檔案的其餘部分要稍後才會處理。
這表示開啟影像檔案是一個快速操作,與檔案大小和壓縮類型無關。以下是一個簡單的指令碼,用於快速識別一組影像檔案
識別影像檔案
import sys
from PIL import Image

for infile in sys.argv[1:]:
    try:
        with Image.open(infile) as im:
            print(infile, im.format, f"{im.size}x{im.mode}")
    except OSError:
        pass
剪下、貼上和合併影像
Image 類別包含允許您操作影像內區域的方法。若要從影像中擷取子矩形,請使用 crop() 方法。
從影像複製子矩形
box = (0, 0, 64, 64)
region = im.crop(box)
區域由 4 元組定義,其中座標為 (左、上、右、下)。Python Imaging Library 使用左上角為 (0, 0) 的座標系統。另請注意,座標是指像素之間的位置,因此上述範例中的區域正好是 64x64 像素。
現在可以以某種方式處理該區域,然後貼回。

處理子矩形並貼回
region = region.transpose(Image.Transpose.ROTATE_180)
im.paste(region, box)
當貼回區域時,該區域的大小必須與給定的區域完全匹配。此外,該區域不能延伸到影像之外。然而,原始影像和區域的模式不需要匹配。如果它們不匹配,則該區域會在貼上之前自動轉換(詳細資訊請參閱下方的色彩轉換章節)。

這是一個額外的範例
滾動影像
def roll(im: Image.Image, delta: int) -> Image.Image:
    """Roll an image sideways."""
    xsize, ysize = im.size

    delta = delta % xsize
    if delta == 0:
        return im

    part1 = im.crop((0, 0, delta, ysize))
    part2 = im.crop((delta, 0, xsize, ysize))
    im.paste(part1, (xsize - delta, 0, xsize, ysize))
    im.paste(part2, (0, 0, xsize - delta, ysize))

    return im

或者如果您想將兩個影像合併成一個較寬的影像
合併影像
def merge(im1: Image.Image, im2: Image.Image) -> Image.Image:
    w = im1.size[0] + im2.size[0]
    h = max(im1.size[1], im2.size[1])
    im = Image.new("RGBA", (w, h))

    im.paste(im1)
    im.paste(im2, (im1.size[0], 0))

    return im

對於更進階的技巧,`paste` 方法也可以使用一個透明遮罩作為可選參數。在這個遮罩中,值 255 表示貼上的影像在該位置是不透明的(也就是說,應按原樣使用貼上的影像)。值 0 表示貼上的影像完全透明。介於兩者之間的值表示不同程度的透明度。例如,貼上 RGBA 影像並同時將其用作遮罩,會貼上影像的不透明部分,但不會貼上其透明背景。
Python 影像庫也允許您處理多頻段影像(例如 RGB 影像)的個別頻段。`split` 方法會建立一組新影像,每個影像都包含來自原始多頻段影像的一個頻段。`merge` 函數會採用模式和影像元組,並將它們合併成一個新影像。以下範例會交換 RGB 影像的三個頻段
分割和合併頻段
r, g, b = im.split()
im = Image.merge("RGB", (b, g, r))
請注意,對於單頻段影像,split() 會傳回影像本身。若要處理個別的色彩頻段,您可能需要先將影像轉換為 “RGB”。

幾何轉換
PIL.Image.Image 類別包含 resize() 和 rotate() 影像的方法。前者會接受一個元組,其中包含新的尺寸,後者會接受以逆時針方向表示的角度(以度為單位)。
簡單的幾何轉換
out = im.resize((128, 128))
out = im.rotate(45) # degrees counter-clockwise

若要以 90 度為單位旋轉影像,您可以使用 rotate() 方法或 transpose() 方法。後者也可用於將影像繞其水平或垂直軸翻轉。
轉置影像
out = im.transpose(Image.Transpose.FLIP_LEFT_RIGHT)

out = im.transpose(Image.Transpose.FLIP_TOP_BOTTOM)

out = im.transpose(Image.Transpose.ROTATE_90)
out = im.transpose(Image.Transpose.ROTATE_180)

out = im.transpose(Image.Transpose.ROTATE_270)

如果 expand 旗標為 true,則也可以使用 rotate() 操作以相同的方式執行 transpose(ROTATE) 操作,以便提供對影像大小的相同變更。
更一般形式的影像轉換可以透過 transform() 方法執行。
相對調整大小
您也可以選擇相對於給定大小來調整大小,而不是在調整大小時計算新影像的大小。
from PIL import Image, ImageOps
size = (100, 150)
with Image.open("hopper.webp") as im:
    ImageOps.contain(im, size).save("imageops_contain.webp")
    ImageOps.cover(im, size).save("imageops_cover.webp")
    ImageOps.fit(im, size).save("imageops_fit.webp")
    ImageOps.pad(im, size, color="#f00").save("imageops_pad.webp")

    # thumbnail() can also be used,
    # but will modify the image object in place
    im.thumbnail(size)
    im.save("image_thumbnail.webp")
給定大小 |
|
|
|
|
|
結果影像 |

|

|

|

|

|
結果大小 |
|
|
|
|
|
色彩轉換
Python 影像庫允許您使用 convert() 方法在不同的像素表示之間轉換影像。
在模式之間轉換
from PIL import Image

with Image.open("hopper.ppm") as im:
    im = im.convert("L")
該程式庫支援每個支援的模式與 “L” 和 “RGB” 模式之間的轉換。若要在其他模式之間轉換,您可能必須使用中繼影像(通常為 “RGB” 影像)。
影像增強
Python 影像庫提供許多可用於增強影像的方法和模組。
濾鏡
ImageFilter 模組包含許多預定義的增強濾鏡,這些濾鏡可與 filter() 方法搭配使用。
套用濾鏡
from PIL import ImageFilter
out = im.filter(ImageFilter.DETAIL)

點運算
point() 方法可用於轉換影像的像素值(例如,影像對比度操作)。在大多數情況下,可以將期望一個引數的函數物件傳遞給此方法。每個像素都會根據該函數進行處理
套用點轉換
# multiply each pixel by 20
out = im.point(lambda i: i * 20)

使用上述技術,您可以快速將任何簡單的運算式套用到影像。您也可以結合使用 point() 和 paste() 方法來選擇性地修改影像
處理個別頻段
# split the image into individual bands
source = im.split()

R, G, B = 0, 1, 2

# select regions where red is less than 100
mask = source[R].point(lambda i: i < 100 and 255)

# process the green band
out = source[G].point(lambda i: i * 0.7)

# paste the processed band back, but only where red was < 100
source[G].paste(out, None, mask)

# build a new multiband image
im = Image.merge(im.mode, source)
請注意用來建立遮罩的語法
imout = im.point(lambda i: expression and 255)

Python 只會評估邏輯運算式中判斷結果所需的必要部分,並傳回最後一個檢查的值作為運算式的結果。因此,如果上面的運算式為 false (0),Python 不會查看第二個運算元,因此會傳回 0。否則,它會傳回 255。
增強
對於更進階的影像增強,您可以使用 ImageEnhance 模組中的類別。從影像建立增強物件後,可以使用該物件快速嘗試不同的設定。
您可以用這種方式調整對比度、亮度、色彩平衡和銳利度。
增強影像
from PIL import ImageEnhance

enh = ImageEnhance.Contrast(im)
enh.enhance(1.3).show("30% more contrast")

影像序列
Python 影像庫包含對影像序列(也稱為動畫格式)的一些基本支援。支援的序列格式包括 FLI/FLC、GIF 和一些實驗格式。TIFF 檔案也可以包含多個影格。
當您開啟序列檔案時,PIL 會自動載入序列中的第一個影格。您可以使用 `seek` 和 `tell` 方法在不同的影格之間移動
讀取序列
from PIL import Image

with Image.open("animation.gif") as im:
    im.seek(1)  # skip to the second frame

    try:
        while 1:
            im.seek(im.tell() + 1)
            # do something to im
    except EOFError:
        pass  # end of sequence
如此範例所示,當序列結束時,您會收到 EOFError 例外狀況。
寫入序列
您可以使用 Pillow 建立動畫 GIF,例如
from PIL import Image

# List of image filenames
image_filenames = [
    "hopper.jpg",
    "rotated_hopper_270.jpg",
    "rotated_hopper_180.jpg",
    "rotated_hopper_90.jpg",
]

# Open images and create a list
images = [Image.open(filename) for filename in image_filenames]

# Save the images as an animated GIF
images[0].save(
    "animated_hopper.gif",
    save_all=True,
    append_images=images[1:],
    duration=500,  # duration of each frame in milliseconds
    loop=0,  # loop forever
)

以下類別可讓您使用 for 陳述式來循環執行序列
使用 Iterator 類別
from PIL import ImageSequence
for frame in ImageSequence.Iterator(im):
    # ...do something to frame...
PostScript 列印
Python 影像庫包含在 PostScript 印表機上列印影像、文字和圖形的函式。這是一個簡單的範例
繪製 PostScript
from PIL import Image, PSDraw
import os
# Define the PostScript file
ps_file = open("hopper.ps", "wb")
# Create a PSDraw object
ps = PSDraw.PSDraw(ps_file)
# Start the document
ps.begin_document()
# Set the text to be drawn
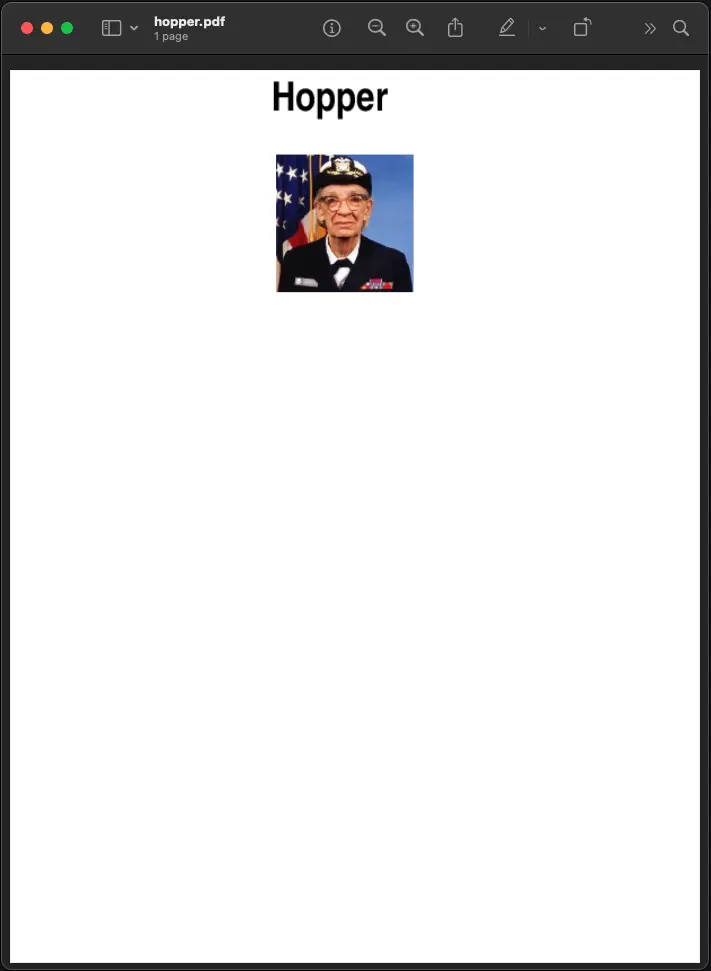
text = "Hopper"
# Define the PostScript font
font_name = "Helvetica-Narrow-Bold"
font_size = 36
# Calculate text size (approximation as PSDraw doesn't provide direct method)
# Assuming average character width as 0.6 of the font size
text_width = len(text) * font_size * 0.6
text_height = font_size
# Set the position (top-center)
page_width, page_height = 595, 842 # A4 size in points
text_x = (page_width - text_width) // 2
text_y = page_height - text_height - 50 # Distance from the top of the page
# Load the image
image_path = "hopper.ppm" # Update this with your image path
with Image.open(image_path) as im:
# Resize the image if it's too large
im.thumbnail((page_width - 100, page_height // 2))
# Define the box where the image will be placed
img_x = (page_width - im.width) // 2
img_y = text_y + text_height - 200 # 200 points below the text
# Draw the image (75 dpi)
ps.image((img_x, img_y, img_x + im.width, img_y + im.height), im, 75)
# Draw the text
ps.setfont(font_name, font_size)
ps.text((text_x, text_y), text)
# End the document
ps.end_document()
ps_file.close()
注意
PostScript 轉換為 PDF 以供顯示之用
更多關於讀取影像的資訊
如先前所述,open() 函式可用於開啟影像檔案。Image.open() 可以用作內容管理器
from PIL import Image
with Image.open("hopper.ppm") as im:
    ...
如果一切順利,結果會是 PIL.Image.Image 物件。否則,會引發 OSError 例外狀況。
您可以使用類似檔案的物件,而不是檔案名稱。該物件必須實作 file.read、file.seek 和 file.tell 方法,並且必須以二進位模式開啟。
從開啟的檔案讀取
from PIL import Image

with open("hopper.ppm", "rb") as fp:
    im = Image.open(fp)
若要從二進位資料讀取影像,請使用 BytesIO 類別
從二進位資料讀取
from PIL import Image
import io

im = Image.open(io.BytesIO(buffer))
請注意,此函式庫會在讀取影像標頭之前將檔案倒回 (使用 seek(0))。此外,當讀取影像資料時 (透過 load 方法),也會使用 seek。如果影像檔案嵌入在較大的檔案中,例如 tar 檔案,您可以使用 ContainerIO 或 TarIO 模組來存取它。
從 URL 讀取
from PIL import Image
from urllib.request import urlopen
url = "https://python-pillow.org/assets/images/pillow-logo.png"
img = Image.open(urlopen(url))
從 tar 封存檔讀取
from PIL import Image, TarIO

fp = TarIO.TarIO("hopper.tar", "hopper.jpg")
im = Image.open(fp)
批次處理
操作可以應用於多個影像檔案。例如,目前目錄中的所有 PNG 影像可以儲存為品質降低的 JPEG 檔案。
import glob
from PIL import Image

def compress_image(source_path: str, dest_path: str) -> None:
    with Image.open(source_path) as img:
        if img.mode != "RGB":
            img = img.convert("RGB")
        img.save(dest_path, "JPEG", optimize=True, quality=80)


paths = glob.glob("*.png")
for path in paths:
    compress_image(path, path[:-4] + ".jpg")
由於影像也可以從 pathlib 模組的 Path 開啟,因此可以修改此範例以使用 pathlib 來取代 glob 模組。
from pathlib import Path

paths = Path(".").glob("*.png")
for path in paths:
    compress_image(path, path.stem + ".jpg")
控制解碼器
某些解碼器允許您在從檔案讀取影像時操作影像。當建立縮圖 (速度通常比品質重要) 以及列印到單色雷射印表機 (只需要影像的灰階版本) 時,這通常可以用來加速解碼。
draft() 方法會操作已開啟但尚未載入的影像,使其盡可能符合給定的模式和大小。這是透過重新配置影像解碼器來完成的。
以草稿模式讀取
這僅適用於 JPEG 和 MPO 檔案。
from PIL import Image

with Image.open(file) as im:
    print("original =", im.mode, im.size)

    im.draft("L", (100, 100))
    print("draft =", im.mode, im.size)
這會印出類似以下內容
original = RGB (512, 512)
draft = L (128, 128)
請注意,產生的影像可能與要求的模式和大小不完全符合。為了確保影像不大於給定的大小,請改用縮圖方法。